
Rock Climbing 101: Basic Climbing, Belaying, & Rappelling
Many of our favorite adventures at Outdoor Voyage involve rock climbing. Here's a crash course!

Whether you're scaling sun-drenched crags in Greece, alpine rock in Canada, or pulling plastic in a chalky climbing gym in New York City, rock climbing is a uniquely rewarding sport, and one that seems to grow in popularity each year.
But climbing isn't just about getting to the top. It's also about getting down, and about being safe throughout the process. Roped climbing involves a partnership built on trust, specific techniques, and specialized gear.
Here at The Outdoor Voyage, we connect adventurers with incredible climbing experiences worldwide. You can obviously embark on many climbing adventures with a skilled guide even without any prior knowledge, but understanding the fundamentals can help make your adventure more fun, and get you into climbing on your own once you’re back from your adventure!
This guide will introduce you to the three core pillars of roped climbing: the basics of top rope climbing, the vital skill of belaying, and the controlled art of rappelling.
Disclaimer: This guide provides introductory information. Rock climbing involves inherent risks. You can get injured or die, even if you do everything right. Always seek qualified, hands-on instruction from certified professionals before attempting to climb, belay, or rappel independently.
Part 1: What to Know About Rock Climbing
Types of Climbing
While there are many disciplines, beginners often start with:
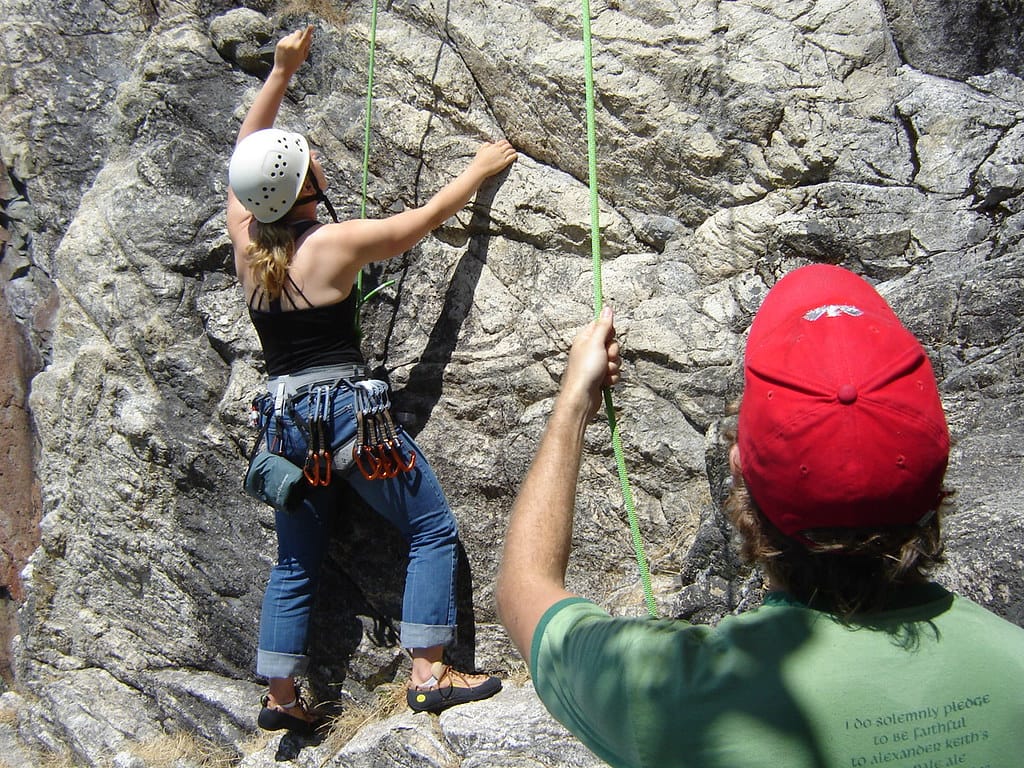
- Top-Roping: The rope runs from the belayer at the bottom, up through an anchor at the top of the climb, and back down to the climber. If the climber falls, they typically only drop a very short distance before the rope catches them. This is the most common way to learn in gyms and many outdoor settings.
- Lead Climbing: The climber clips the rope into protection points (bolts or traditional gear) as tahey ascend. The belayer feeds out rope. Falls in lead climbing are longer and require more advanced belaying skills.
- Bouldering: Climbing shorter routes (usually under 15-20 feet) without ropes, typically over crash pads. This focuses purely on movement and power.
Basic Climbing Gear
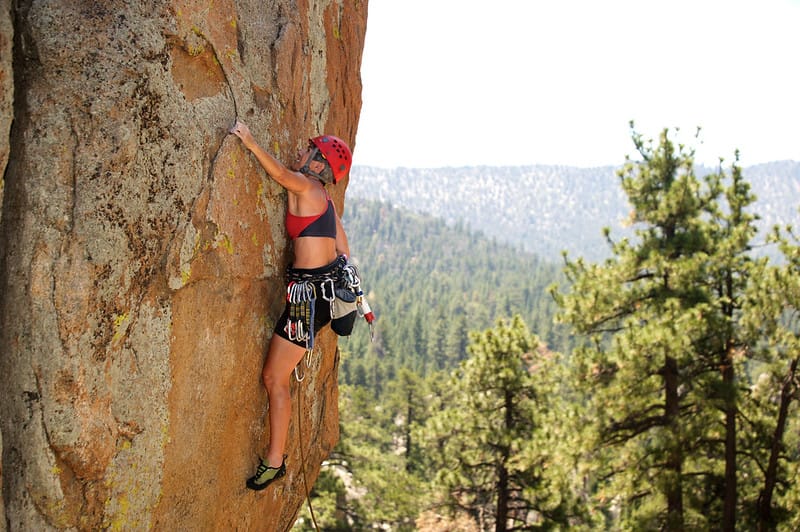
- Harness: Worn around the waist and legs, this is your connection point to the rope. It's designed to distribute the force of a fall safely.
- Climbing shoes: Snug-fitting shoes with sticky rubber soles designed to maximize friction and allow precise footwork on small holds.
- Helmet: Crucial for protecting your head from falling rock (outdoors) or accidental impacts against the wall. Non-negotiable for outdoor climbing and highly recommended indoors.
- Chalk bag & chalk: Magnesium carbonate absorbs sweat from your hands, improving grip.
Climbing Technique
It's not just about pull-ups! Good climbing technique emphasizes efficiency and balance:
- Use Your Feet: Your legs are much stronger than your arms. Focus on precise foot placements on holds. Push up with your legs to make upward progress, rather than just pulling with your arms.
- Straight Arms: Whenever possible, hang from straight arms to conserve energy in your biceps. Bend your arms primarily when moving dynamically to the next hold.
- Body Positioning: Keep your hips close to the wall for better balance and to keep weight on your feet. Experiment with different body positions (facing the wall, flagging a leg out for balance) to find stable stances.
- Smooth Movement: Avoid jerky, uncontrolled movements. Climb deliberately, maintaining three points of contact (e.g., two feet and one hand) whenever possible while moving the fourth limb.
- Look Ahead: When you find a good hold (jug) or other rest position, take time to scan the route above you to plan your next few moves.
Part 2: Climbing - How to Tie in and Climb
As a beginner climber, you won’t build your own anchors. You’ll climb and belay (usually in a gym) off of an established anchor system. And in a top rope system, the belayer does most of the work. The climber’s only job is to tie themselves into the rope and communicate effectively (see “Essential Communication” below).
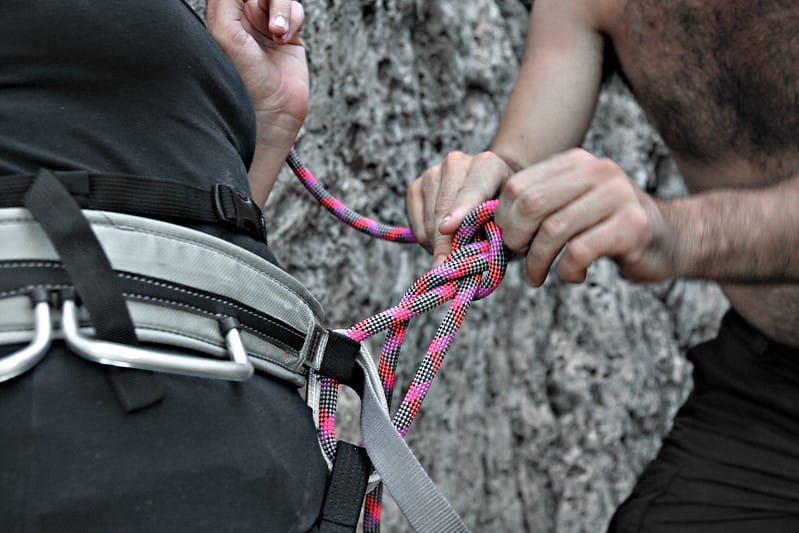
The undisputed standard for tying into a climbing harness is a knot called the figure-eight follow-through. There are other knots that can work (such as a modified bowline), but the figure-eight is the most popular because it's strong, secure, relatively easy to tie correctly, and visually simple to inspect.
Where to Tie In
Look closely at your harness. For most harnesses, you'll see two horizontal loops, one loop attached to the waist belt and another connected to the leg loops. These are often different colours or textures from the rest of the harness material and are known as the "hard points" or "tie-in points." You must thread the rope through both of these points.
Do NOT tie into the "belay loop" (that single, vertical loop that connects the leg loop connector to the waist belt loop). The belay loop is specifically designed for connecting your belay device or for anchoring, not for direct tie-in with the climbing rope.
How to Tie a Figure-Eight Follow-Through:
- Measure: Pull out a generous length of rope – roughly an arm's length plus a bit more.
- Tie the Initial Figure-Eight: Create a single figure-eight knot in the rope, leaving enough tail (the measured length) to work with. To do this: make a loop (bight), twist it twice, then pass the end of the rope through the loop.
- Thread the Harness: Take the tail end of the rope and pass it through the lower hard point (leg loop connector) and then up through the upper hard point (waist belt loop) of your harness. You should now have a figure-eight knot hanging below your harness tie-in points.
- Follow Through (Retrace): Now, carefully take the tail end and retrace the path of the original figure-eight knot. Follow the rope back through the knot exactly, ensuring the tail lies perfectly parallel to the strand it's following. Go in the same direction the original strand came from.
- Dress the Knot: Once retraced, pull all strands tight to "dress" the knot neatly. Ensure there are no crossed strands within the knot itself – it should look like two parallel strands weaving through each other cleanly in a figure-eight shape. A well-dressed knot is not only stronger, it's also easier to untie after being weighted.
- Check the Tail: You should have a tail of rope extending beyond the finished knot. Most gyms and guides recommend a minimum tail length of about 6 inches (or roughly a hand's width). Too short is dangerous; excessively long can get in the way.
- (Optional) Stopper Knot: If you have a long tail (more than 8-10 inches), it's good practice to tie a stopper knot, like a double overhand knot, snugged up against the main figure-eight knot. This adds an extra layer of security against the main knot potentially loosening.
Essential Communication (Climbing Commands):
Clear, standardized commands help climbing partners avoid misunderstandings. This might seem stupid in an indoor setting, where the walls are only 15m high and you can hear each other clearly, but these commands are good practice for outdoor climbing.
- (Before climbing) Climber: "On Belay?" (Are you ready to belay me?)
- Belayer: "Belay On!" (Yes, the belay system is set up and I'm ready.)
- Climber: "Climbing!" (I am starting to climb.)
- Belayer: "Climb On!" (Okay, proceed.)
- Climber: "Slack!" (Pay out a little rope.)
- Climber: "Take!" (Take in slack and hold me tight; I want to rest or prepare to be lowered.)
- Climber: "Watch Me!" (I'm attempting a difficult move and might fall.)
- Climber: "Falling!" (rather obvious...)
- Climber (ready to descend): "Ready to Lower!"
- Belayer (ready to lower): "Lowering!"
Part 3: Belaying - Your Partner's Lifeline
Essentially, the belayer uses a friction device attached to their harness to control the rope's movement. They feed rope out as the climber ascends and take rope in if the climber needs tension ("take") or falls. Most importantly, they can lock off the rope to arrest a fall or lower the climber smoothly.
Essential Belay Gear
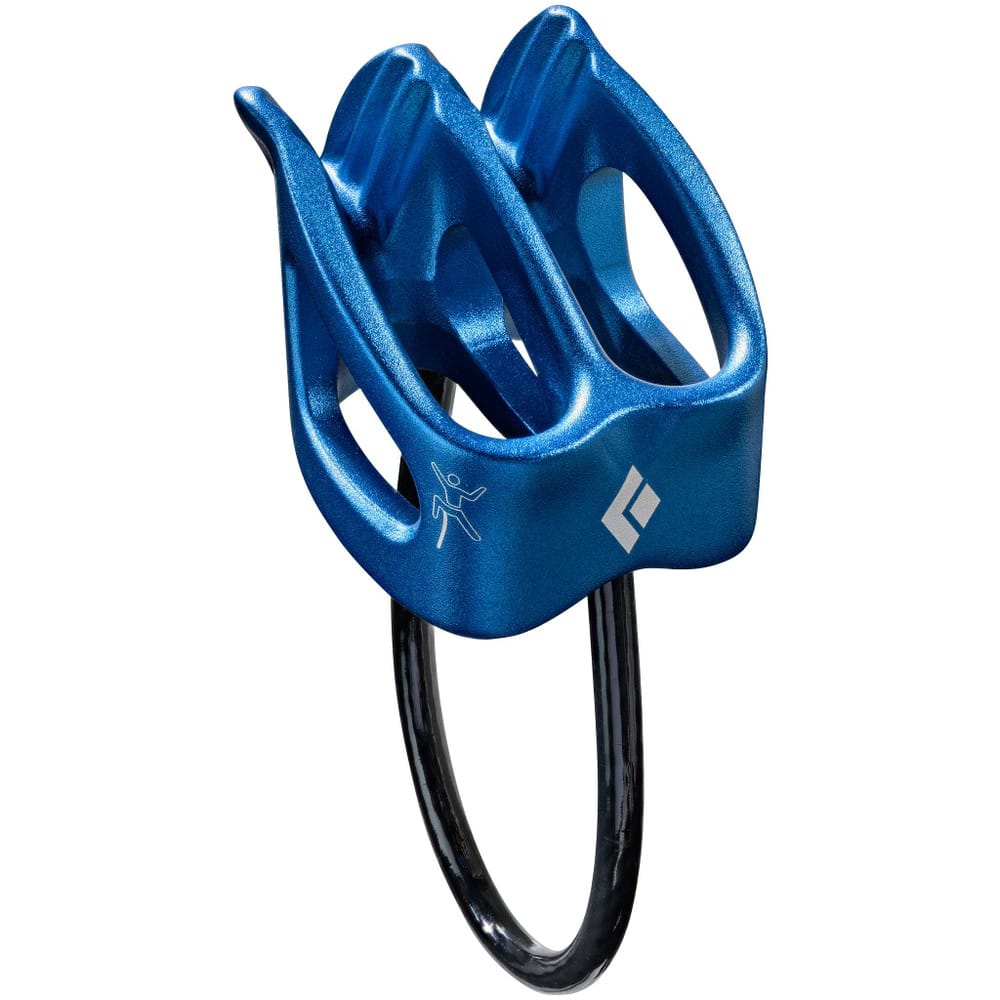
- Belay Device: This creates friction on the rope. Common types include:
- Tube-style devices (e.g., Black Diamond ATC): Simple, versatile, requires active hand control on the brake strand.
- Mechanically-assisted braking devices (e.g., Petzl GriGri): Contain mechanisms that assist in pinching the rope during a fall, but still require the belayer to keep a hand on the brake strand. These are often preferred for their added security margin but require specific training.
- Locking Carabiner: A strong metal loop with a gate that locks securely (screw gate, auto-locking) used to attach the belay device to the belayer's harness belay loop. Never use a non-locking carabiner for belaying.
Partner Check: Before the climber leaves the ground, always perform a mutual check: Knots (climber's tie-in), buckles (harnesses), belay device (correctly threaded, carabiner locked), rope (correct ends, no knots), helmets.
The Belay Process:
The fundamental principle of belaying: NEVER let go of the brake strand (the rope coming out of the device towards the ground). There are a few different ways to belay, but a common technique is PBUS (pull, brake, under, slide):
- Set Up: Thread the rope correctly through the belay device (check manufacturer instructions!) and attach it to your harness belay loop with a locking carabiner. Lock the carabiner. Perform partner checks.
- Brake Position: Your dominant hand (brake hand) holds the brake strand firmly below the device. Your other hand (guide hand) is on the climber's strand above the device.
- Taking in Slack (PBUS):
- PULL: Use your guide hand to pull the climber's strand down to the belay device while pulling the slack up and through with your brake hard.
- BRAKE: Bring the brake strand back down to your hip.
- UNDER: Bring your guide hand down under your brake hand, pinching the brake strand firmly. Both hands are now on the brake strand.
- SLIDE: Slide your brake hand up the brake strand, and place your guide hand back on the climber's strand. You're ready to pull again.
Catching a Fall: If the climber falls, reflexively clamp down hard on the brake strand with your brake hand, pulling it down and back onto your hip. The friction in the device stops the rope.
Lowering: With both hands firmly on the brake strand below the device, slowly and smoothly feed rope through the device by controlling the friction.
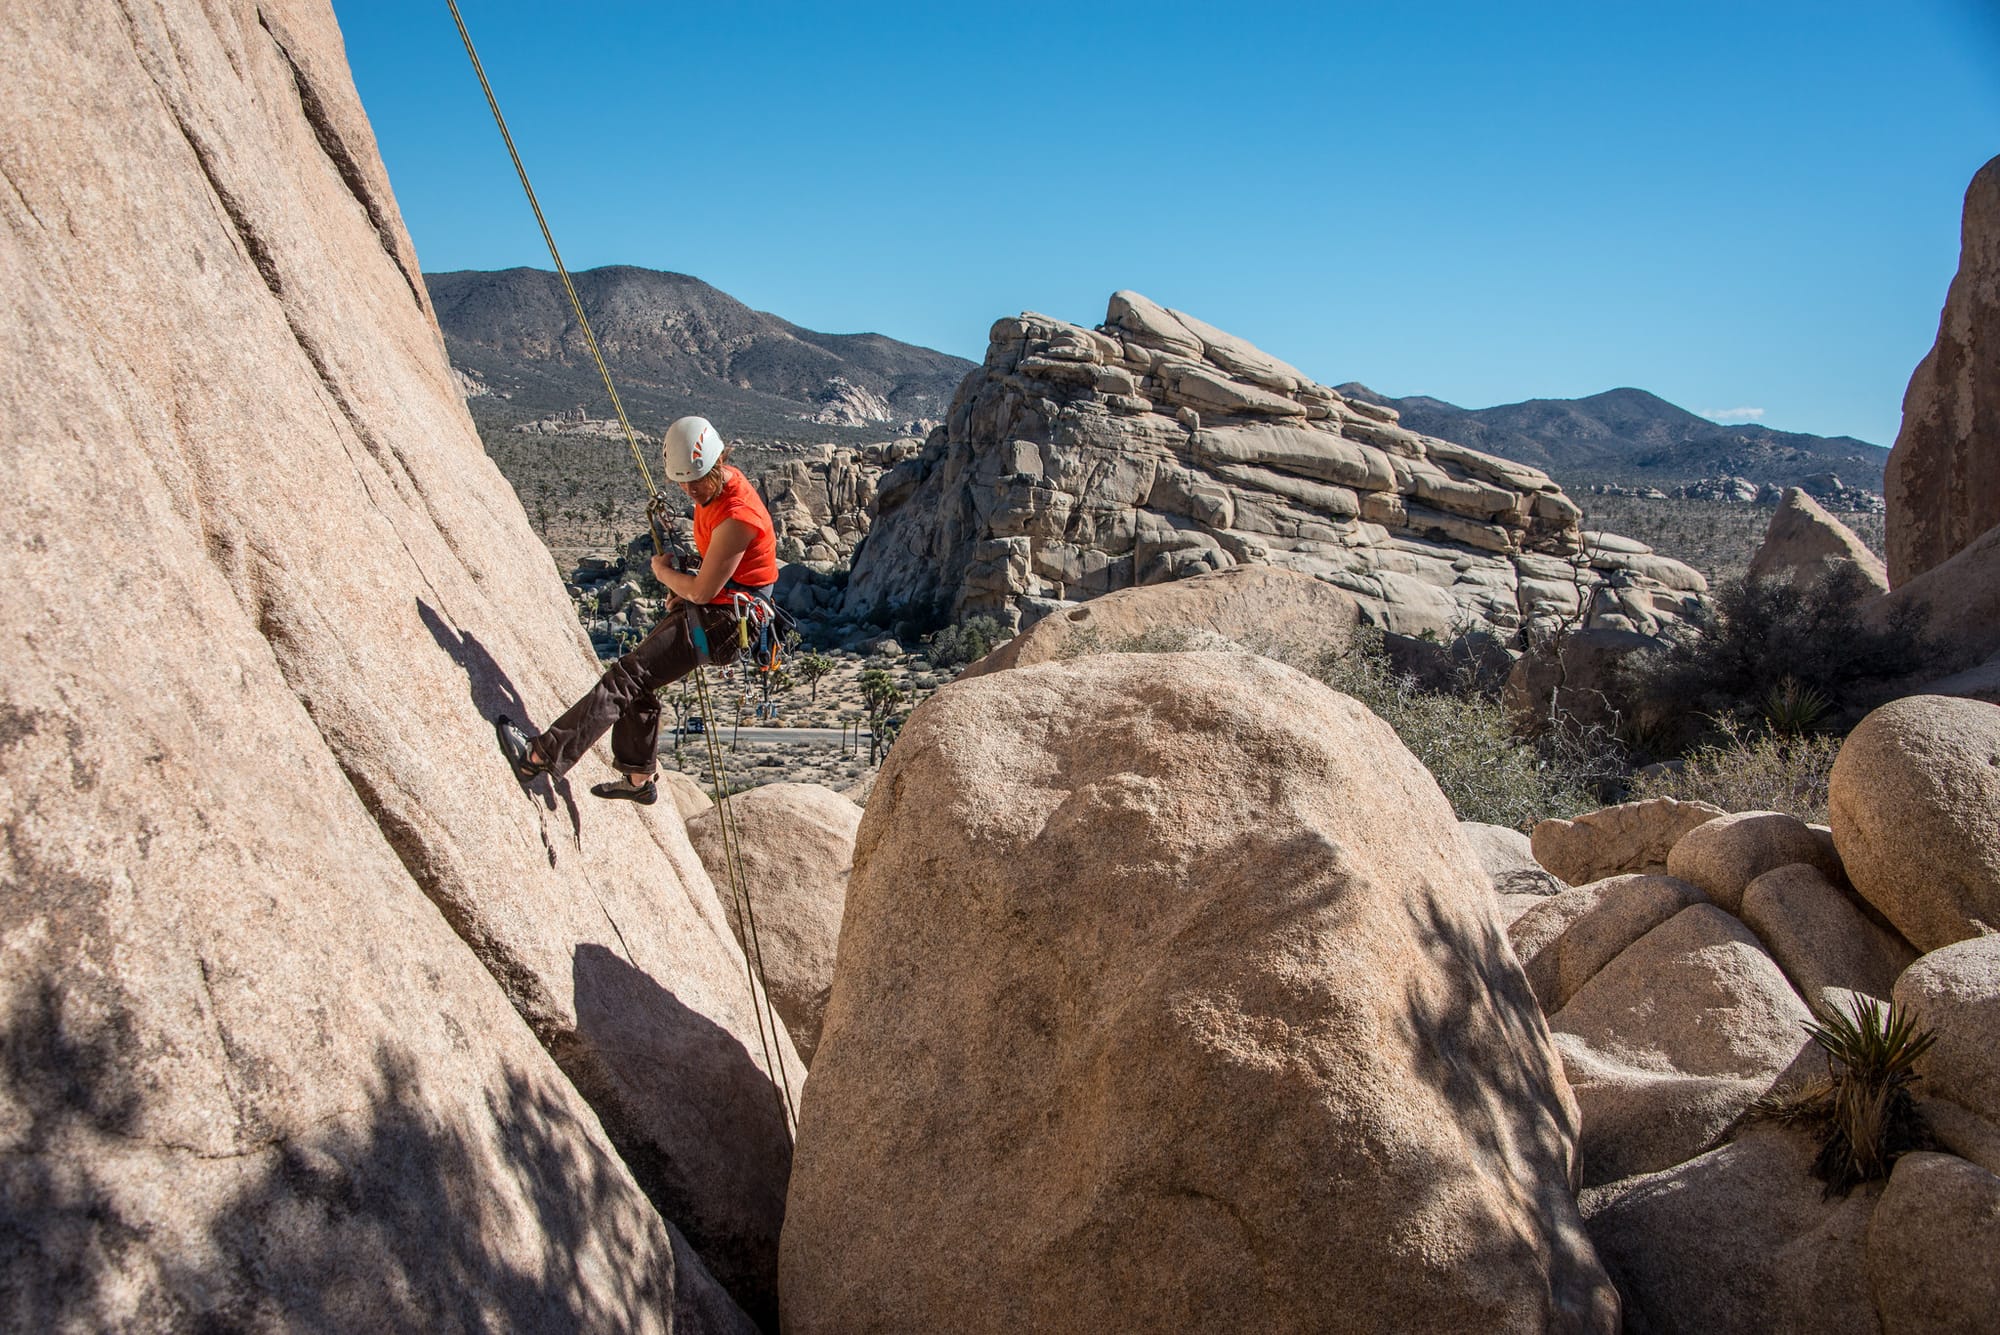
Part 4: Rappelling (Abseiling): A Controlled Descent
Rappelling (or abseiling) is the technique used to descend a rope under control. If you're climbing with a belayer, you aren't "rappelling" when you come down. That's called lowering. (Rappelling is where you are lowering yourself.)
It's not necessary for many top rope and sport climbing scenarios, but it's essential for getting down after multi-pitch climbs and accessing the base of climbing areas from above (e.g. sea cliffs). It's also a fun technique in its own right, and can be very for caving, canyoneering, and mountaineering.
Essential Rappel Gear:
- Rope(s)
- Harness
- Helmet
- Belay/Rappel Device: Most (but not all) belay devices can also be used for rappelling.
- Locking Carabiner: To attach the device to the harness.
- Backup Friction Hitch (Highly Recommended): A secondary friction knot (e.g., Prusik, Klemheist, Autoblock) made from thin cord or webbing, attached below the rappel device. This acts as a 'dead man's brake,' stopping your descent if you lose control or let go of the rope. Using a backup is considered standard best practice.
- Gloves (Optional but Recommended): Protect hands from friction heat, especially on long rappels.
The Rappel Process - Safety First!
Rappelling accidents often stem from setup errors. Triple-check everything.
- Anchor Check: Ensure the rappel anchor (bolts, tree, gear) is solid. Check webbing/rings for wear.
- Threading the Rope: Pass the rope through the anchor rings/chains. Ensure the middle marker of the rope is at the anchor (unless using specific single-rope techniques) so both ends reach the next station or the ground. Tie stopper knots in the ends of the rope to prevent accidentally rappelling off them.
- Setting Up the Device: Attach your rappel/belay device to both strands of the rope (for a standard twin rappel). Attach the device via a locking carabiner to your belay loop.
- Weighting the System: Before unclipping from your personal anchor system (PAS) or safety tether, lean back carefully to weight the rappel system. Ensure the device is functioning correctly and the anchor is holding.
- Final Check: One last look—device threaded correctly? Carabiner locked? Backup hitch (if using one) engaged? Rope ends knotted? Helmet on? Harness buckles doubled back?
- The Descent: Control your descent speed primarily with your brake hand(s) below the device, feeding the rope smoothly. Keep your body in an 'L' shape, feet shoulder-width apart against the rock, walking backward down the face. Keep the backup hitch sliding gently down with your upper hand (don't grip it tightly unless needed).
- Avoiding Hazards: Keep loose clothing, straps, and long hair clear of the rappel device. Be aware of loose rock.
- Reaching the Bottom: Once safely down, yell "Off Rappel!" so the next person knows the ropes are free.
Getting Started Safely: Your Next Steps
Reading about climbing is one thing; doing it safely is another. This guide is intended as a basic overview and reference, but it does not take the place of actual hands-on instruction from a qualified professional.
If you want to start rock climbing, look to learn from experts who can teach you the techniques correctly and supervise your initial practice. Find a reputable guide service to show you the ropes!